Golf Cart Battery Not Charging: Fix Charger & Connection Issues Fast

When your golf cart battery won't charge, the problem usually stems from faulty charger connections, a malfunctioning charger receptacle, corroded battery terminals, or a defective charger itself. Most issues are fixable with simple cleaning or replacing a single component—saving you from expensive service calls.
When your golf cart battery stops charging, you’re dealing with one of five common culprits: loose or corroded connections at the charger receptacle, dirty battery terminals, a faulty battery charger, damaged charger cables, or internal battery failure. The good news? About 70% of charging failures trace back to simple connection issues you can fix yourself in under 30 minutes with basic tools and cleaning supplies from your garage.
Quick Diagnosis Checklist
Work through these causes in order—they’re ranked from most common to least common based on thousands of service calls:
- Charger receptacle connections are loose or corroded (40% of cases) – Check the plug-in point on your cart
- Battery terminal corrosion blocking current flow (25% of cases) – Look for white, blue, or green buildup on terminals
- Charger not functioning properly (15% of cases) – Charger hums but batteries don’t charge, or no lights at all
- Damaged charger cable or plug pins (10% of cases) – Frayed wires or bent connector pins
- Batteries are sulfated or dead (7% of cases) – Old batteries won’t accept a charge
- Onboard computer or OBC failure (3% of cases, newer carts only) – Computer won’t allow charging to start
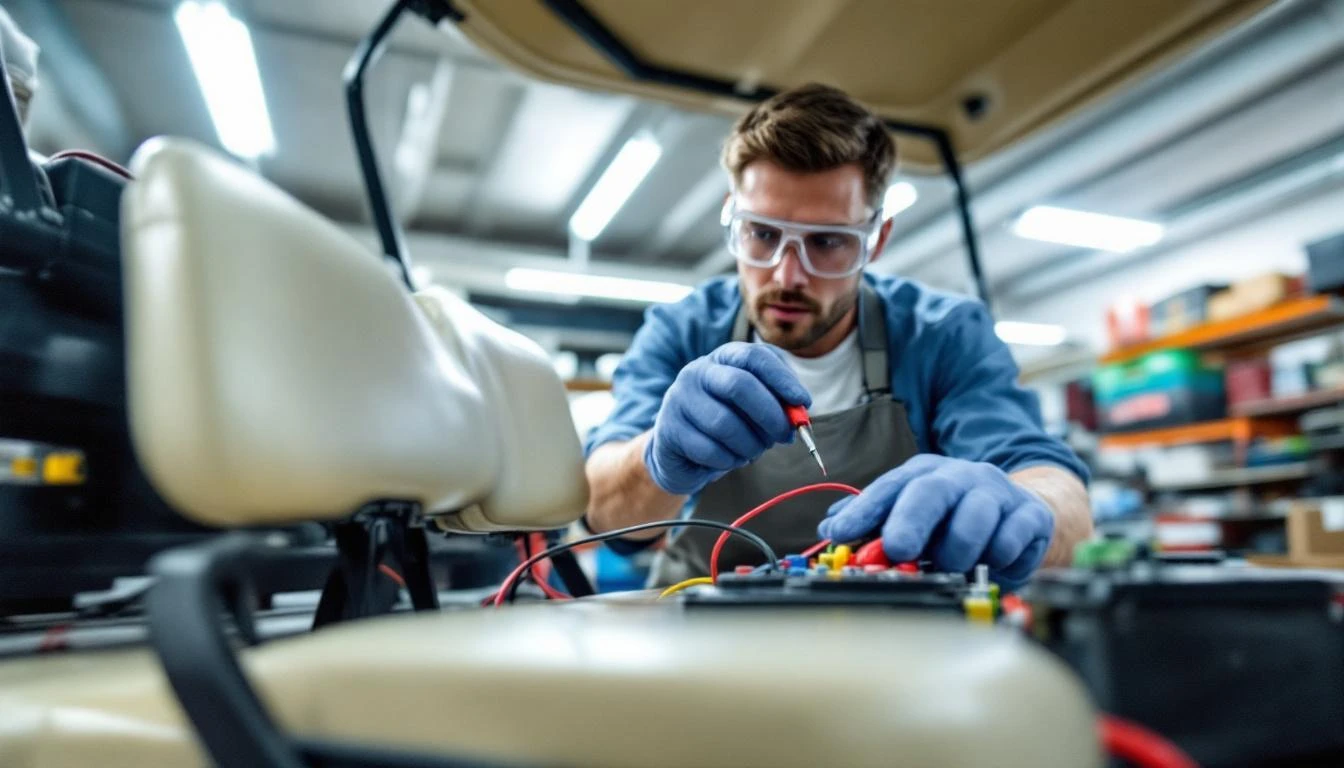
Safety First: Always disconnect the charger from the wall outlet before inspecting connections. Never touch battery terminals with metal tools while the charger is plugged in. Wear safety glasses when working around batteries—they contain sulfuric acid that can cause serious injury.
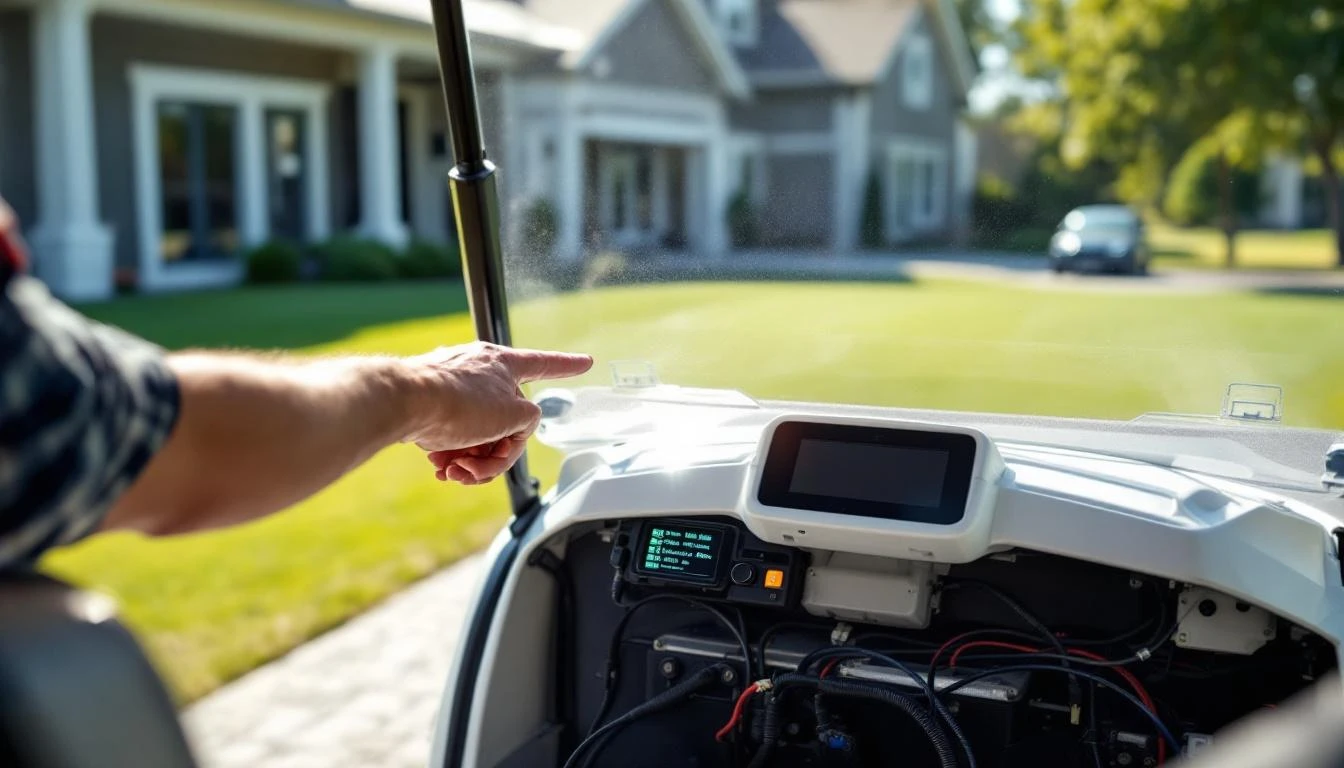
Is Your Charger Receptacle Dirty or Damaged?
The charger receptacle (the socket on your cart where you plug in the charger) is exposed to weather, road debris, and corrosion. It’s the #1 reason batteries won’t charge.
And most folks overlook it completely.
Symptoms You’ll Notice
- Charger plug feels loose when connected
- Charger light comes on briefly, then turns off
- You have to wiggle the plug to get the charger to start
- Green corrosion visible inside the receptacle
- Charger works fine on another cart (ruling out charger failure)
How to Test the Receptacle
Unplug the charger and visually inspect the receptacle socket. Look for:
- Bent or pushed-back pins inside the socket
- Corrosion (white, green, or blue deposits)
- Burned or melted plastic around the pins
- Loose mounting screws holding the receptacle to the cart body
Using a flashlight, peer inside the receptacle. The metal pins should be straight, shiny, and spring back when gently pressed with a plastic tool (never use metal).
How to Fix It
For light corrosion:
- Spray electrical contact cleaner into the receptacle
- Use a small nylon brush (old toothbrush works) to scrub the pins
- Spray again and let air dry for 10 minutes
- Apply dielectric grease to the pins to prevent future corrosion
For damaged receptacles: Replace the entire unit. This is a direct plug-in part on most models—no wire splicing required. Check our chargers section for brand-specific receptacles compatible with Club Car, EZGO, and Yamaha models. Make sure you match your cart’s voltage (36V or 48V) and the receptacle style (round 3-pin vs. flat D-style).
Difficulty: Easy | Time: 15-30 minutes | Tools: Phillips screwdriver, contact cleaner, dielectric grease
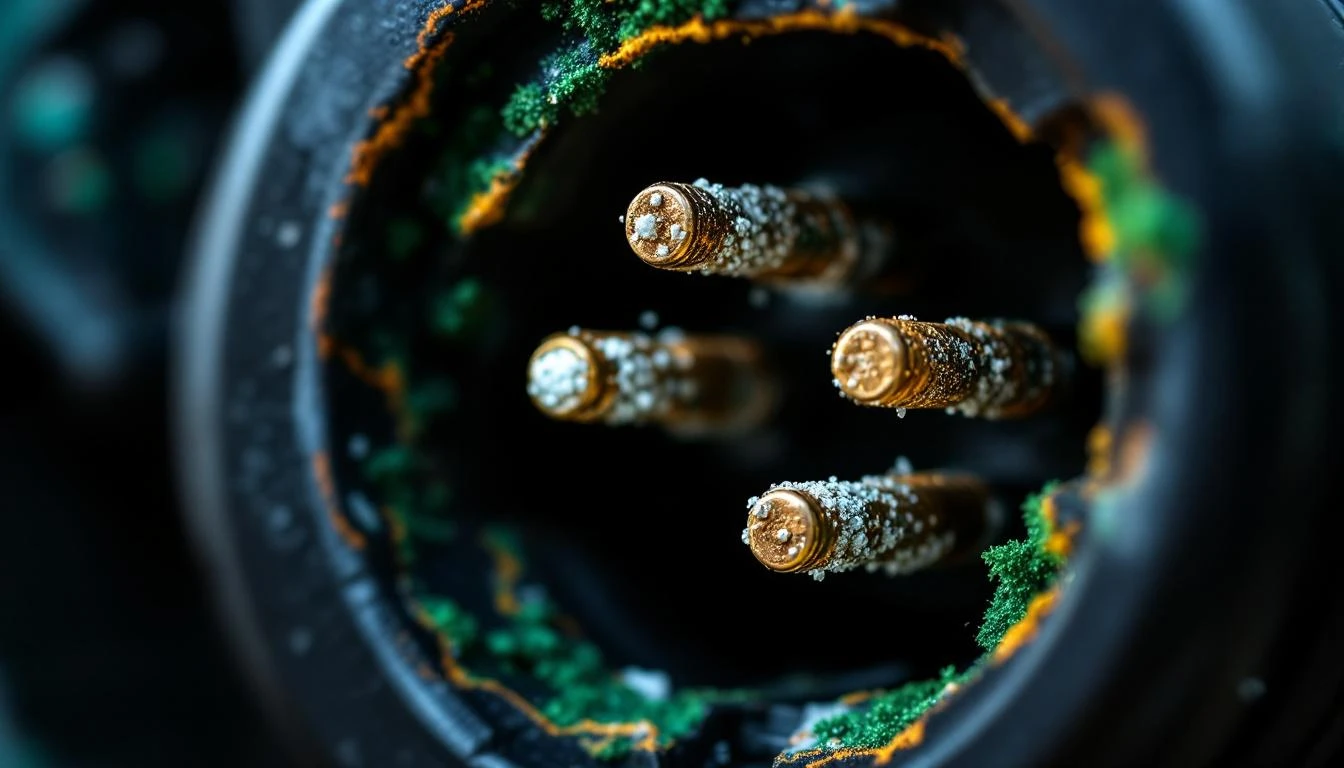
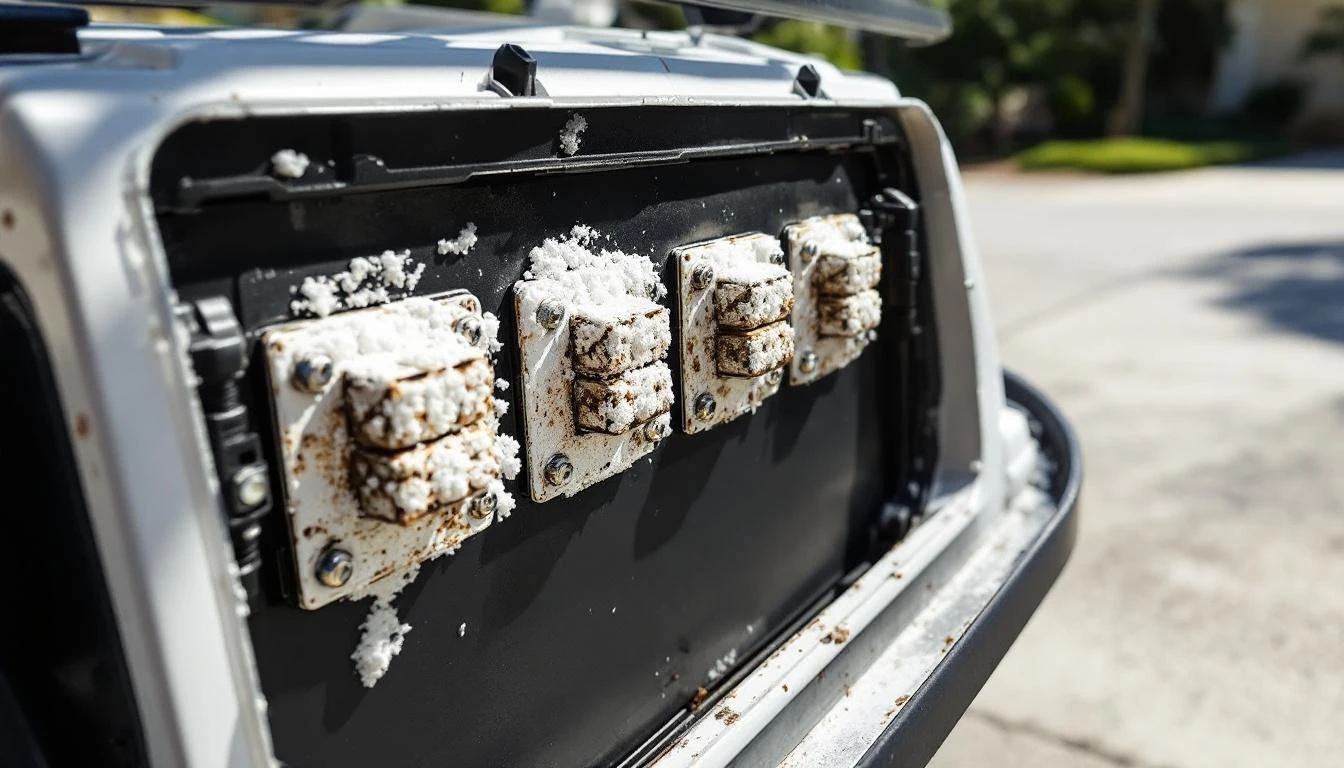
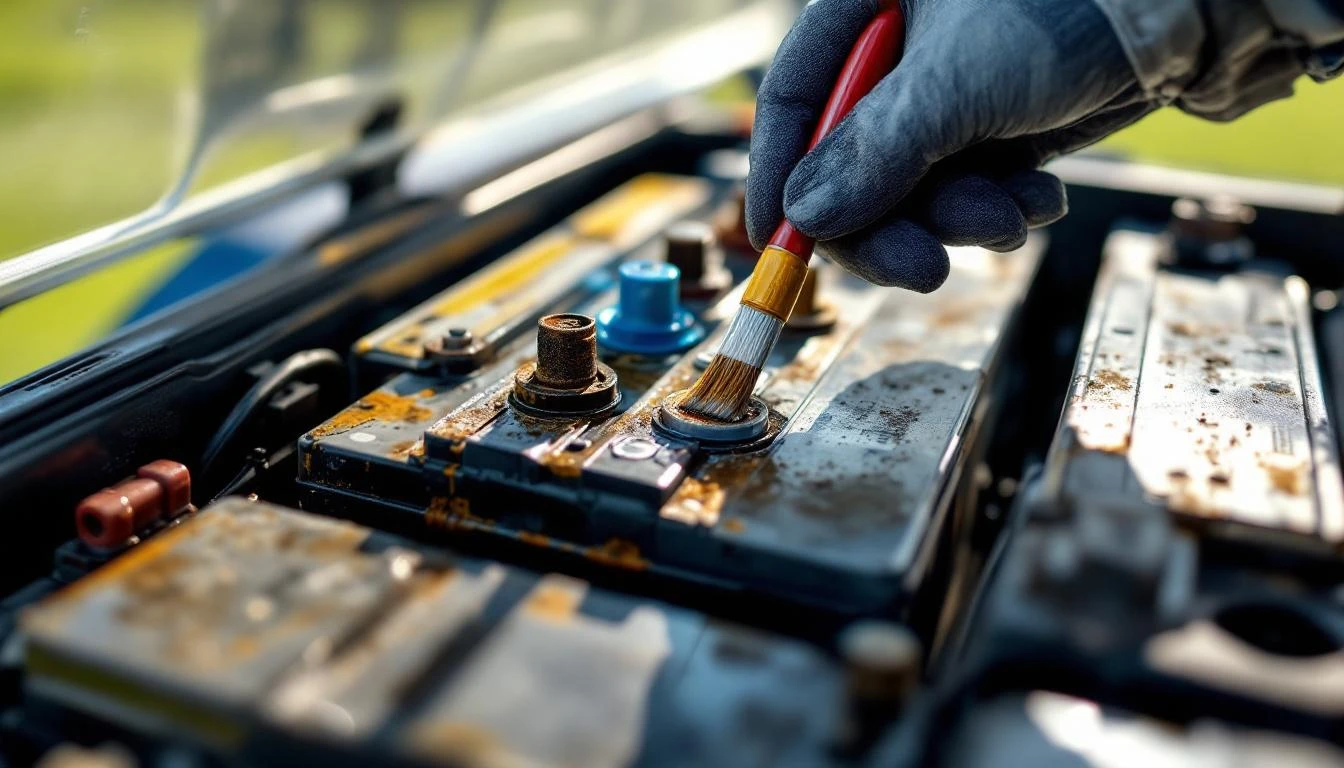
Are Your Battery Terminals Corroded?
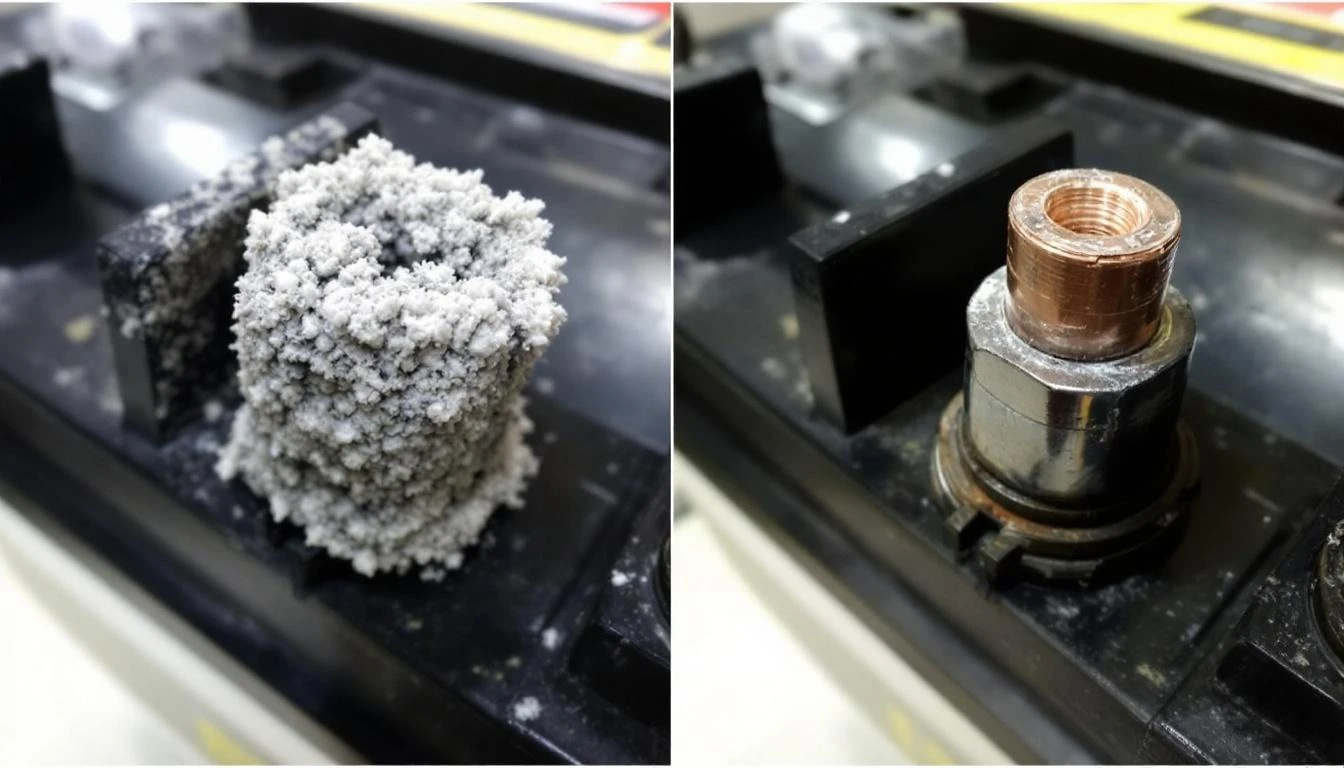
Battery terminal corrosion acts like insulation, blocking the electrical current from reaching your batteries. This crusty buildup comes from battery acid vapor escaping through vent caps and reacting with the metal terminals.
Symptoms You’ll Notice
- White, green, or blue crusty deposits on battery posts or cable connectors
- Charger runs but batteries don’t reach full voltage
- Batteries charge to 80-90% but won’t complete charging cycle
- Some batteries in the pack are warmer than others during charging
How to Test
Open your battery compartment and inspect each battery terminal connection. Don’t just look at the tops—corrosion often hides underneath the cable connectors where you can’t see it without loosening the connection.
If you see ANY corrosion, it needs cleaning. Even a thin layer can increase resistance enough to prevent proper charging.
How to Fix It
WARNING: Wear safety glasses, rubber gloves, and long sleeves. Battery acid can burn skin and ruin clothing.
- Take a photo of your battery wiring before disconnecting anything—you’ll thank yourself later
- Using a wrench, loosen each terminal connector (negative terminals first if doing a full disconnect)
- Mix 2 tablespoons of baking soda with 1 cup of water in a plastic container
- Pour the solution over corroded terminals—it will fizz as it neutralizes the acid
- Scrub terminals with a wire brush until shiny metal appears
- Rinse with clean water and dry thoroughly with a rag
- Apply a thin coating of dielectric grease or petroleum jelly to the cleaned terminals
- Reconnect all cables, tightening firmly but not overtightened (you can crack the battery post)
- Apply grease to the top of each connection to seal out moisture
If corrosion has eaten through cable connectors or they crumble when you touch them, you’ll need new battery cables. EZGO and Club Car cables are NOT interchangeable—the terminal styles differ between brands.
Difficulty: Easy | Time: 30-45 minutes | Tools: Wrenches, wire brush, baking soda, safety gear
Is Your Charger Actually Working?
Golf cart chargers fail gradually or suddenly. A charger might hum and show lights but not deliver current to the batteries, or it might be completely dead.
Testing is straightforward if you know what to look for.
Symptoms You’ll Notice
- No lights or sounds when plugged into both the wall and cart
- Charger hums loudly but won’t shut off after expected charging time
- Ammeter on charger shows zero current flow
- Charger is very hot to touch or smells like burning electronics
- Charger worked yesterday but completely dead today
How to Test
First, plug the charger into a known-good wall outlet and verify outlet power with another device. Then plug the charger into your cart.
For chargers with LED indicators:
- Red or amber light = charging (normal)
- Green light = charge complete (normal)
- No lights = charger not receiving power or internal failure
- Flashing lights = error code (consult your charger manual)
For chargers with ammeters: The needle should swing to the right when first connected (showing high current draw), then gradually drop toward zero as batteries charge. If the needle never moves, the charger isn’t delivering current.
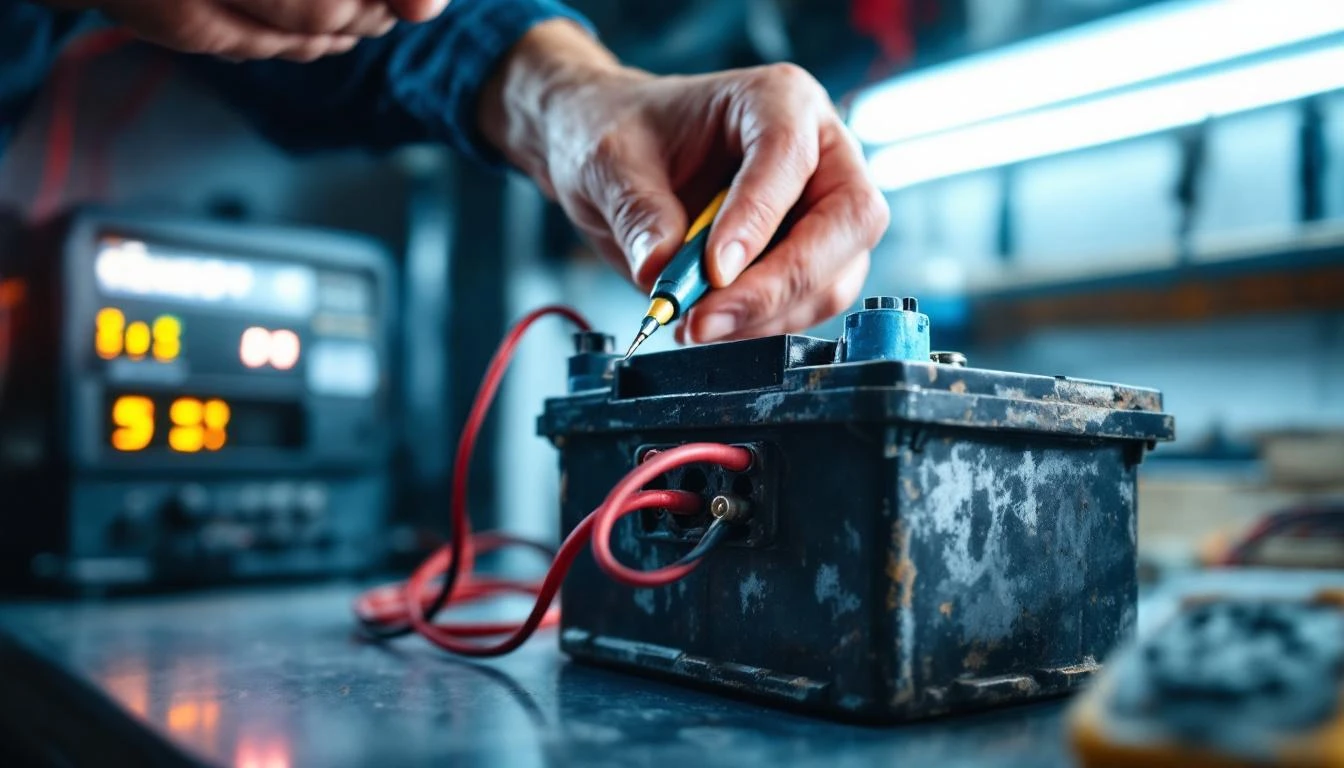
Advanced test (requires multimeter): With the charger running, test voltage at the charger plug pins. You should see 42-44V on a 36V system or 56-58V on a 48V system. If you see 0V, the charger is dead. If you see correct voltage but batteries still don’t charge, the problem is in your cart’s wiring, not the charger.
How to Fix It
Battery chargers contain high-voltage components and usually aren’t economical to repair. If your charger is more than 5 years old or has failed testing, replacement is your best option.
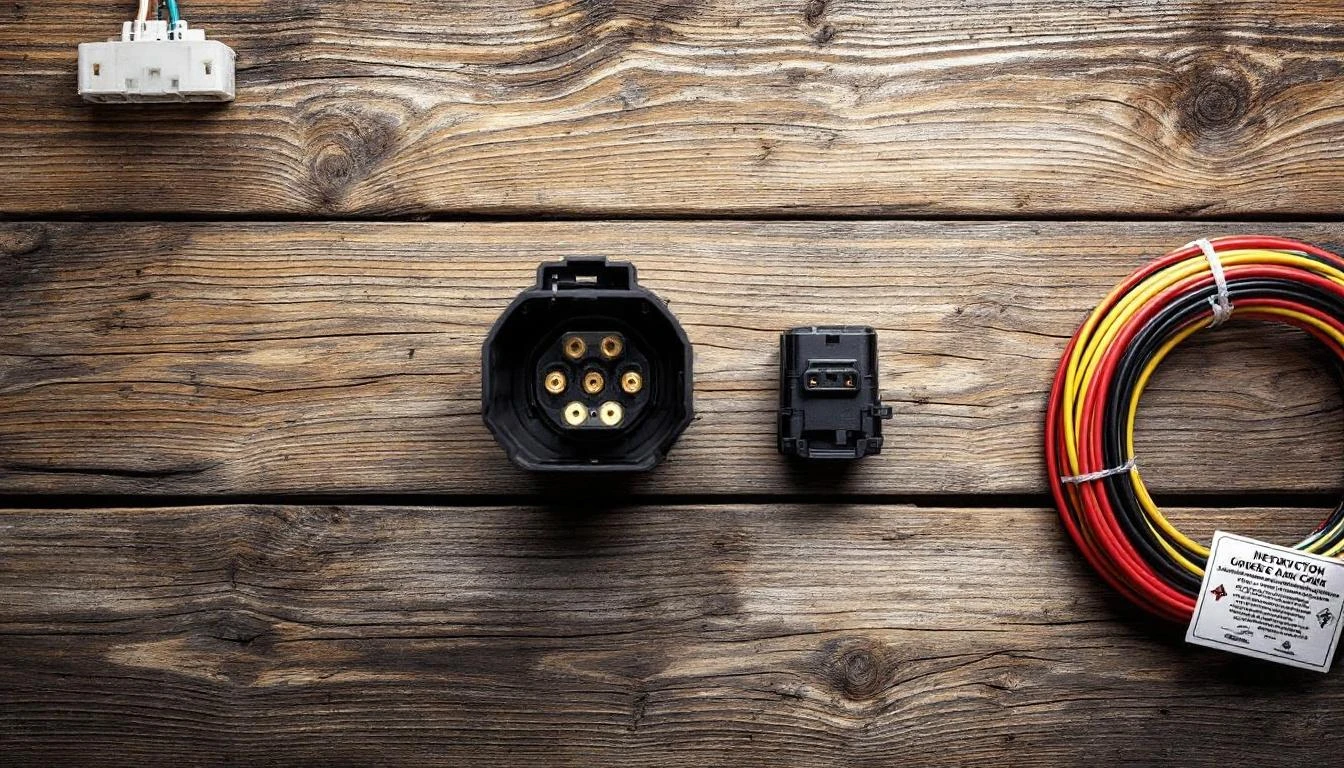
When selecting a new charger from our chargers collection, you MUST match:
- Voltage: 36V or 48V (check your battery configuration—six 6V batteries = 36V, six 8V batteries = 48V)
- Amperage: Higher amps charge faster but may shorten battery life. 15-20 amps is standard for golf carts
- Battery type: Flooded lead-acid, AGM, or lithium (using the wrong charger WILL damage batteries)
- Connector type: Round 3-pin, D-style connector, or brand-specific (Club Car vs EZGO vs Yamaha)
Club Car specific: 2000 and newer Club Car models with the OBC (On Board Computer) require chargers that communicate with the cart’s computer. Standard chargers won’t work.
EZGO specific: EZGO TXT and RXV models use different connector styles. Verify your model year before ordering.
Yamaha specific: Yamaha G14-G22 models use a unique 3-pin connector not compatible with other brands.
Difficulty: Easy (just plug-and-play) | Time: 5 minutes | Tools: None
Are Your Charger Cables or Plug Damaged?
The AC power cord and the DC charging cable take a beating—run over by the cart, pinched in doors, chewed by rodents, or simply worn out from years of coiling and uncoiling.
Symptoms You’ll Notice
- Visible fraying, cuts, or exposed wire in the cables
- Plug pins are bent, broken, or pushed back into the housing
- Charger works when cord is held in certain positions
- Intermittent charging that starts and stops randomly
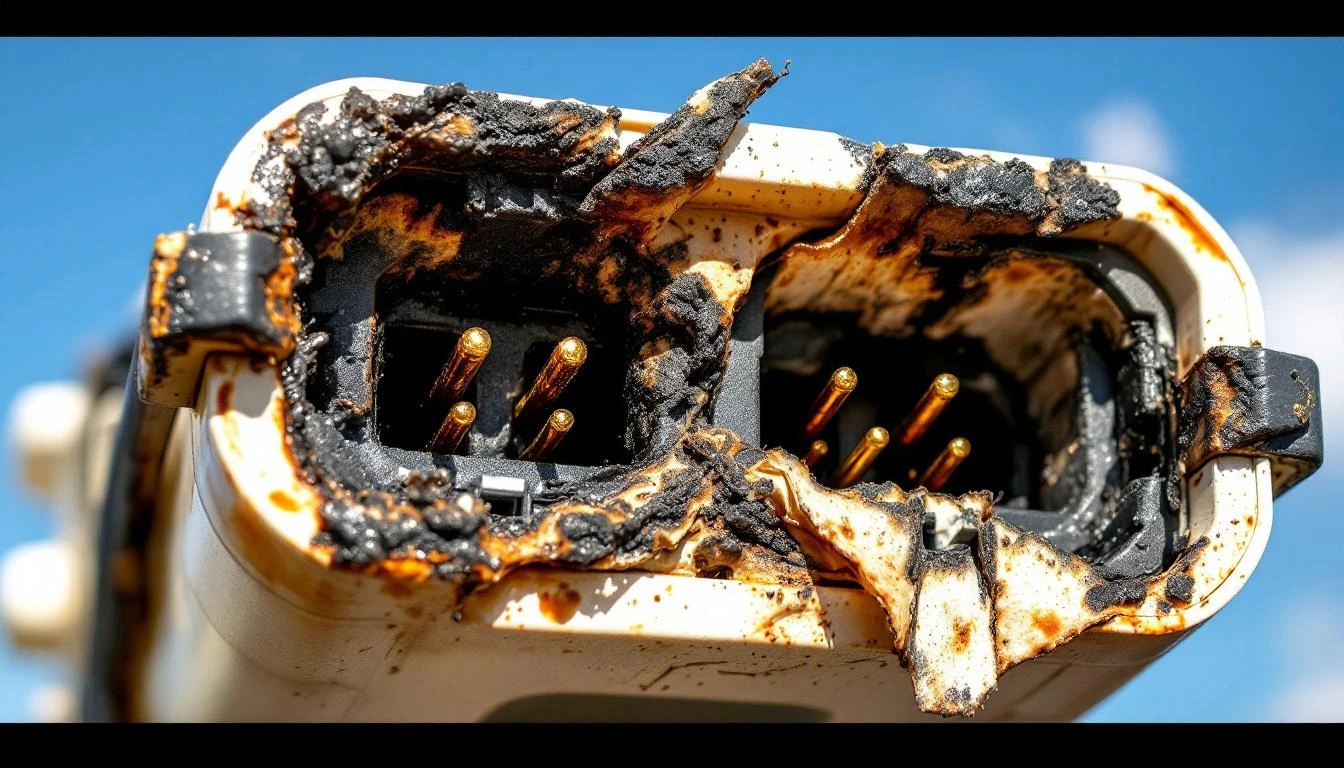
- Melted or burned spots on the plug body
How to Test
Inspect the entire length of both the AC cord (wall to charger) and DC cord (charger to cart). Gently flex the cable every few inches while watching the charger lights—if they flicker, you’ve found a break in the wiring.
Examine the charger plug closely. The pins should be straight and extend the same length. If a pin is recessed or bent, it won’t make proper contact inside the cart’s receptacle.
How to Fix It
For damaged pins: Some charger plugs have replaceable ends. If yours doesn’t, you can purchase a replacement plug assembly and splice it to your existing charger cable. Match the wire colors exactly (usually black and white for DC systems). Use heat-shrink tubing and waterproof wire connectors rated for outdoor use.
For cut or frayed cables: If damage is within 12 inches of either end, cutting off the damaged section and installing a new connector is cost-effective. But if damage is in the middle of a long cable, replace the entire cable—splicing creates a weak point prone to failure.
For melted plugs: This indicates serious overheating from poor connections or an overloaded circuit. Replace BOTH the plug and the receptacle, and investigate why overheating occurred (usually corroded connections or undersized wiring).
Replacement cables and plugs are available in our charger accessories section. Make absolutely certain you match the pin configuration and voltage rating.
Difficulty: Moderate | Time: 45-60 minutes | Tools: Wire strippers, heat gun, screwdriver, multimeter
Are Your Batteries Too Old or Sulfated?
Batteries don’t last forever. Flooded lead-acid batteries typically last 4-6 years with proper maintenance, AGM batteries 5-7 years. When batteries reach end-of-life, they can’t accept or hold a charge no matter how good your charger is.
Symptoms You’ll Notice
- Batteries are more than 5 years old (check date stamps on battery tops)
- Charger completes its cycle quickly (1-2 hours instead of 6-8)
- Cart runs fine for 2-3 holes, then dies completely
- One or more batteries in the pack are significantly warmer than others
- Water level drops quickly in some batteries but not others
- Batteries won’t reach proper voltage (should be 6.3V+ per 6V battery when fully charged)
How to Test
You’ll need a multimeter or voltmeter. After charging overnight, disconnect the charger and let the batteries rest for 2 hours. Then test each battery individually:
| Battery Type | Fully Charged Voltage | Bad Battery Voltage |
|---|---|---|
| 6-volt | 6.3-6.4V | Below 6.0V |
| 8-volt | 8.4-8.5V | Below 8.0V |
| 12-volt | 12.6-12.8V | Below 12.4V |
If one battery tests significantly lower than the others (0.3V+ difference), that battery is weak and dragging down the entire pack. In series-wired battery packs, the weakest battery limits the performance of all batteries.
Also check specific gravity if you have flooded batteries. Use a hydrometer to draw fluid from each cell. Readings should be 1.265-1.280 when fully charged. Readings below 1.200 indicate sulfation or cell failure.
How to Fix It
For sulfation (white/gray coating on plates visible through fill holes): Try a desulfation charger or add a battery additive specifically designed to break down sulfate crystals. Success rate is maybe 30%—don’t get your hopes up.
For end-of-life batteries: Replace them. Here’s the hard truth: you should replace ALL batteries at once, even if only one or two test bad. Mixing old and new batteries creates an imbalanced pack where the new batteries overwork trying to compensate for weak ones, shortening their lifespan.
Browse our complete selection of golf cart battery packs with options for every major brand. We offer both individual batteries (if you absolutely must replace just one) and money-saving complete packs.
Battery selection guide:
- Flooded lead-acid: Least expensive, require monthly watering, 4-6 year life
- AGM (sealed): Maintenance-free, better for hilly terrain, 5-7 year life, 20% more expensive
- Lithium: Lightweight, 10+ year life, charge faster, 3-4x the price upfront but lowest cost over lifespan
Difficulty: Moderate | Time: 1-2 hours | Tools: Wrenches, battery lifting strap (they’re heavy!), safety gear
Could Your OBC (On-Board Computer) Be the Problem?
If you have a newer Club Car Precedent (2004+) or EZGO RXV (2008+), your cart has an onboard computer that controls the charging process.
This computer can prevent charging if it detects a fault condition.
Symptoms You’ll Notice
- Charger won’t start at all—no lights, no sounds
- Charger starts briefly (2-3 seconds) then shuts off
- Error codes displayed on cart dashboard
- Charger works fine on older carts without computers
- Batteries test good, connections are clean, but still won’t charge
How to Test
Check your cart’s display panel for error codes. Common OBC error codes related to charging:
- Club Car code 1-3 flashes: Battery voltage problems
- Club Car code 1-5 flashes: Key switch fault
- EZGO battery icon flashing: Battery voltage out of range
Consult your owner’s manual for the complete error code list. Each code points to a specific fault.
How to Fix It
OBC issues often require dealer-level diagnostics, but try these steps first:
- Power cycle the system: Disconnect the main battery pack for 30 seconds, reconnect, then try charging
- Check the key switch: The OBC won’t allow charging if it detects a key switch fault. With the key OFF, test for continuity across the switch terminals—there should be none
- Verify battery pack voltage: If total pack voltage is below 28V on a 36V system or below 38V on a 48V system, the OBC may refuse to charge (safety feature). You’ll need to manually charge the pack with a standard automotive battery charger to bring voltage up enough for the OBC to engage
If error codes persist after these steps, the OBC itself may have failed. This is a dealer-level repair for most owners, though replacement OBC units are available through our Club Car electrical parts section.
Difficulty: Advanced | Time: 1-3 hours | Tools: Multimeter, scan tool (for advanced diagnostics)
When to Call a Professional
Most charging issues are DIY-friendly, but some situations need expert help:
- Repeated charger failures: If you’ve replaced the charger twice in under a year, there’s an underlying electrical problem creating overload conditions
- Smoking or sparking: Any smoke, sparks, or burning smell from batteries, wiring, or charger components requires immediate professional diagnosis—this is a fire hazard
- Intermittent electrical gremlins: If charging problems come and go randomly, or are accompanied by other electrical weirdness (lights flickering, solenoid clicking), you likely have a complex wiring fault
- High-voltage system failures on lithium carts: Lithium battery systems operate at higher voltages and include sophisticated battery management systems. Unless you’re trained in high-voltage systems, don’t troubleshoot beyond connection cleaning
- OBC programming: Replacement onboard computers often need programming to match your cart’s specific configuration
- You’re not comfortable with electrical work: There’s no shame in calling a pro. Battery systems contain enough energy to cause serious injury. If you’re uncertain, pay the $100-150 service call—it’s cheaper than an ER visit
Prevention Tips to Avoid Future Charging Problems
An ounce of prevention beats a pound of troubleshooting. Build these habits:
Monthly Maintenance
- Clean battery terminals: Even if they look okay, wipe them down with a damp rag to remove invisible corrosion film
- Check water levels (flooded batteries only): Add distilled water to cover the plates—never overfill, and only add water after charging, not before
- Inspect charger cable: Look for fraying, cuts, or damage before it becomes a failure
- Test battery voltages: Catch weak batteries before they damage the rest of the pack
Quarterly Maintenance
- Apply dielectric grease: Remove terminal connectors, clean if needed, apply fresh grease, reconnect
- Verify charger receptacle is secure: Tighten mounting screws—vibration loosens them over time
- Clean the battery compartment: Wipe up any acid spills, sweep out debris that can cause shorts
Smart Charging Habits
- Charge after every use: Even short trips. Partial-discharge cycles are better for battery longevity than deep discharges
- Don’t interrupt charging: Let the charger complete its full cycle. Modern chargers need to finish their equalization and trickle-charge phases
- Store with full charge: If parking the cart for winter, charge it fully, then disconnect the batteries to prevent parasitic drain
- Avoid extreme heat: Don’t charge in direct sun or when batteries are hot from use. Let them cool 30 minutes first
Annual Maintenance
- Deep clean all connections: Once a year, disconnect everything, clean thoroughly, inspect for hidden damage, reassemble with fresh grease
- Load test batteries: Have a pro load-test your battery pack or invest in a carbon-pile tester—it reveals weak batteries that pass voltage tests
- Inspect charger internals (if you’re comfortable): Open the charger case, blow out dust, check for loose connections or bulging capacitors
Frequently Asked Questions
How long should a golf cart take to charge?
A fully depleted battery pack takes 6-8 hours with a standard 15-20 amp charger, or 3-4 hours with a high-output 25+ amp charger. If your charger clicks off in under 4 hours and your cart wasn’t nearly full to start, your batteries aren’t accepting a full charge—they’re likely sulfated or failing. Lithium batteries charge much faster, typically 2-3 hours from empty.
Can I use any charger on my golf cart?
No—you must match voltage (36V or 48V), battery chemistry (flooded, AGM, or lithium), and connector type. Using the wrong charger can overcharge batteries (causing damage or explosion), undercharge them (causing sulfation), or simply not work at all. Club Car Precedent models with OBC systems require chargers designed to communicate with the computer. When in doubt, check our charger compatibility guide or call our parts experts.
Why does my charger stay on green but batteries are dead?
Green light means the charger thinks the job is done—but if batteries won’t hold voltage, the problem is the batteries themselves, not the charger. This happens when batteries are sulfated or have internal cell failure. They may briefly reach full voltage under no load (satisfying the charger’s “done” criteria), but voltage crashes the moment you draw current. Test individual battery voltages under load to confirm. You’ll likely need new batteries from our battery pack selection.
How often should I replace my golf cart batteries?
Flooded lead-acid batteries last 4-6 years with proper maintenance, AGM batteries 5-7 years, and lithium batteries 10+ years. Real-world lifespan depends heavily on maintenance, charging habits, and usage patterns. If you frequently run batteries to complete dead, never water them, or interrupt charging cycles, expect the low end of these ranges. Date stamps on battery cases help you track age—if they’re approaching 5 years and showing weak performance, start budgeting for replacements.
Can I charge golf cart batteries with a regular car battery charger?
You can use an automotive charger to charge individual 12V golf cart batteries in an emergency, but you cannot charge a 36V or 48V battery pack with a car charger—the voltage doesn’t match. For emergency charging of 6V or 8V batteries, you’d need to disconnect them from the pack and charge individually with a compatible 6V/8V charger. This is time-consuming and requires careful tracking of which batteries you’ve charged. An automotive charger also won’t perform the proper equalization cycle that golf cart batteries need. Invest in the proper golf cart charger—it pays for itself in extended battery life.
What does it mean when my charger hums loudly but won’t shut off?
A charger that hums continuously without completing its cycle usually indicates one of two problems: (1) batteries are too sulfated/damaged to accept a full charge, so the charger keeps trying indefinitely, or (2) the charger’s automatic shutoff circuit has failed. First, test battery voltages—if they’re not reaching proper levels after 8+ hours of charging, your batteries are the issue. If batteries test good, the charger’s control board or relay has likely failed and the unit needs replacement. Never leave a charger running for more than 12 hours—overcharging generates excessive heat and hydrogen gas (explosion risk).
Why do I need to clean my battery terminals if they don’t look corroded?
Corrosion begins as an invisible film before it becomes visible crusty deposits. This film increases electrical resistance, reducing charging efficiency by 20-30% even when terminals look clean to the naked eye. Regular cleaning prevents this invisible buildup from becoming a visible problem. Plus, cleaning sessions give you a chance to inspect connections for looseness or damage. The five minutes per month you spend cleaning terminals can extend battery life by 1-2 years—that’s a $700-900 return on investment for battery packs.
Should I disconnect my batteries when storing my cart for winter?
Yes—disconnect at least one battery terminal to stop parasitic drain from clocks, OBC computers, and other electronics. Even when “off,” most carts draw a tiny current that will completely drain batteries over 2-3 months of storage. Before storage, fully charge the batteries, then disconnect the negative terminal on one battery in the series string (this breaks the circuit). Check and recharge batteries monthly during storage—batteries that sit discharged for months develop permanent sulfation damage. When you reconnect in spring, the cart will be ready to roll immediately instead of needing extensive recovery charging.